Linux Offline Install Guide
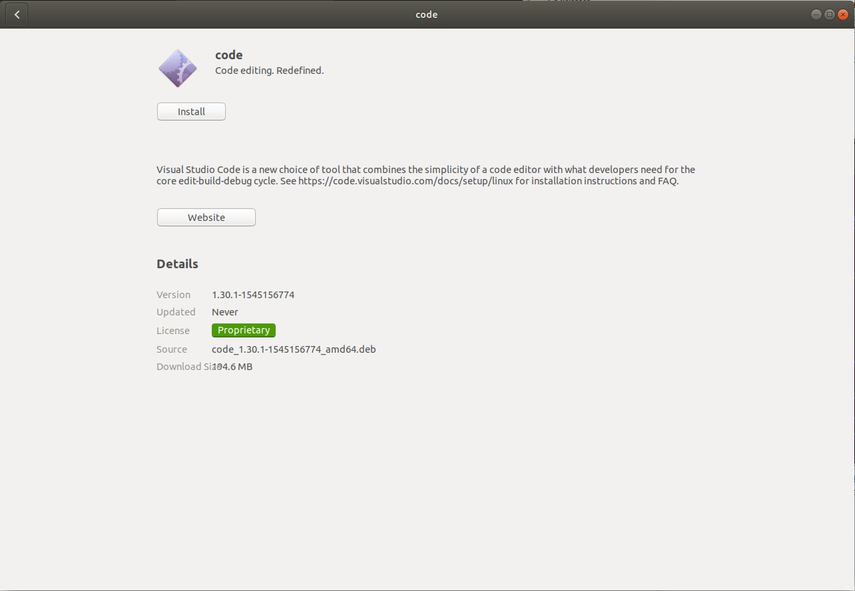
Installing VS Code
- Download the Linux .deb file from code.visualstudio.com
- Double-click on the .deb file in the file explorer
- Click the “Install” button to install VSCode
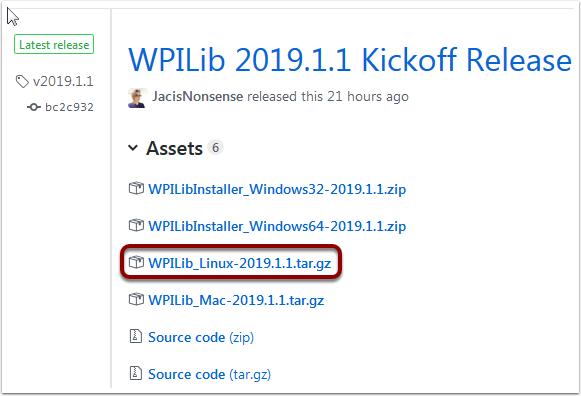
Download the WPILib release
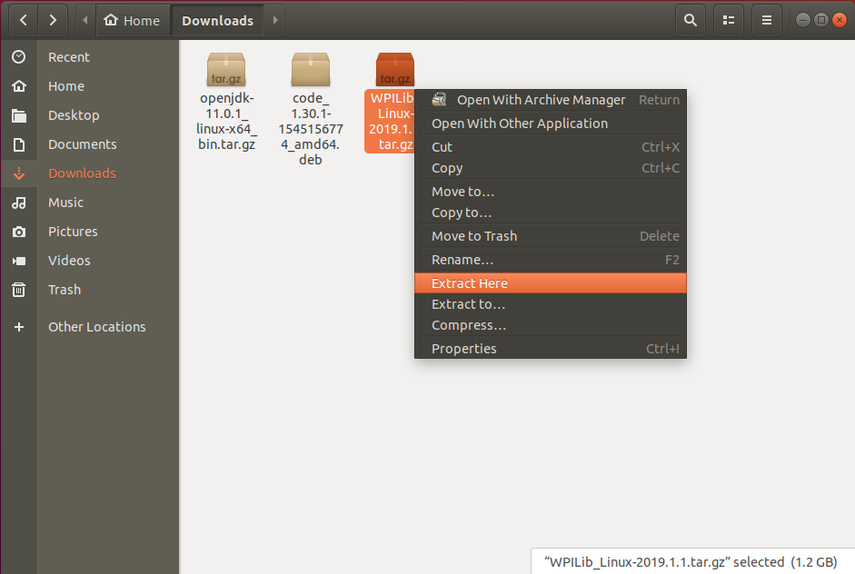
Download the latest Linux release from https://github.com/wpilibsuite/allwpilib/releases Right-click on the downloaded archive, click “Extract Here”
Moving to FRC2019
- Create a directory in your home directory called frc2019 - either from the file manager or with
$ mkdir ~/frc2019 - Drag the contents of WPILIB_Linux-2019.1.1 directory to ~/frc2019 or run
$ mv -v WPILib_Linux-2019.1.1/* ~/frc2019
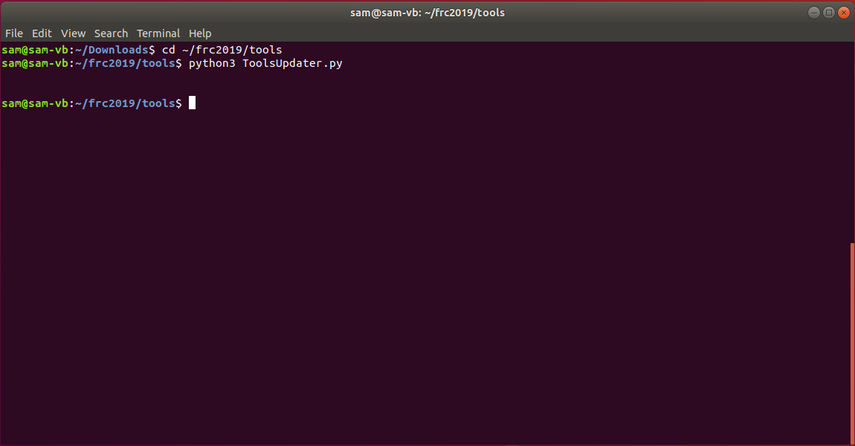
Running Tools Updater
To extract the WPILib tools (Dashboards, Robot Builder, etc.), run: * $ cd ~/frc2019/tools * $ python3 ToolsUpdater.py
Installing the extensions for WPILib VS Code
- Start VSCODE ($ code or search “Visual Studio Code” in your aplication launcher)
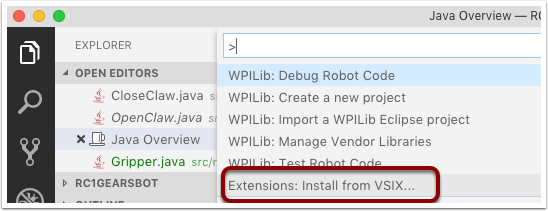
- Control-Shift-P to bring up the command palette, type “Install from VSIX”
- Select “Extensions: Install from VSIX”
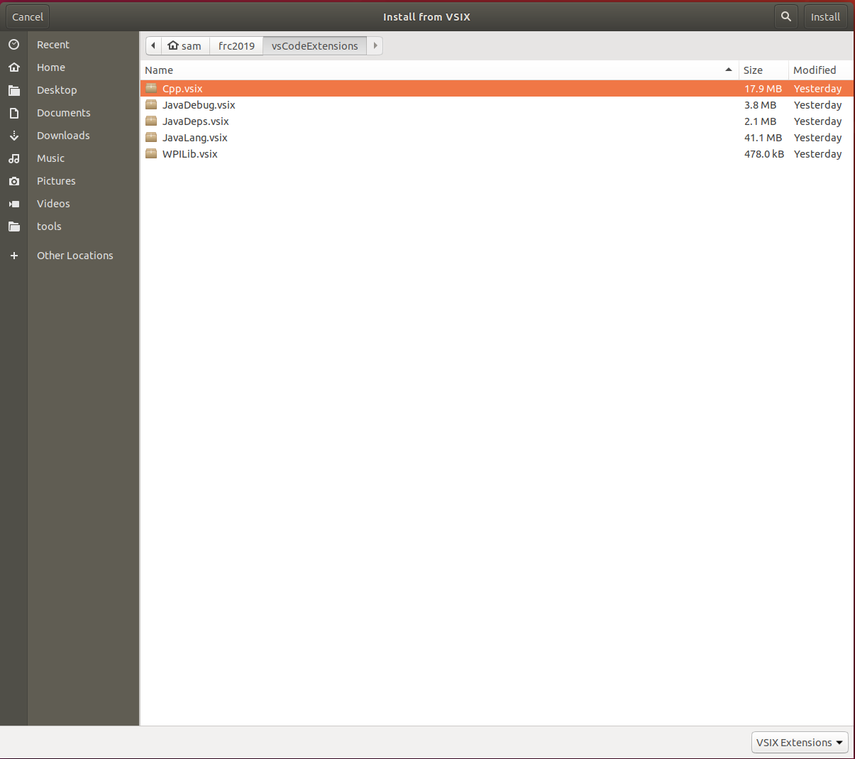
- Navigate to
~/frc2019/vsCodeExtensionsand select Cpp.vsix - Repeat for JavaLang.vsix, JavaDeps.vsix, JavaDebug.vsix, and WPILib.vsix in that order
Setting up VSCode to use Java 11
The WPILib installation includes a JDK, however you need to point VS Code at where it is. To do this: 1. Open VS Code 2. Press Ctrl-Shift-P and type WPILib or click on the WPILib icon in the top right to open the WPILib Command Palette 3. Begin typing Set VS Code Java Home to FRC Home and select that item from the dropdown.
